Nanobana Editorial
GPT Image 2.6 Features, Updates and Creative Use Cases
Nanobana explains GPT Image 2.6 features, from planning and markup edits to SVG graphics and GIF loops, with practical creative workflows.
On this page
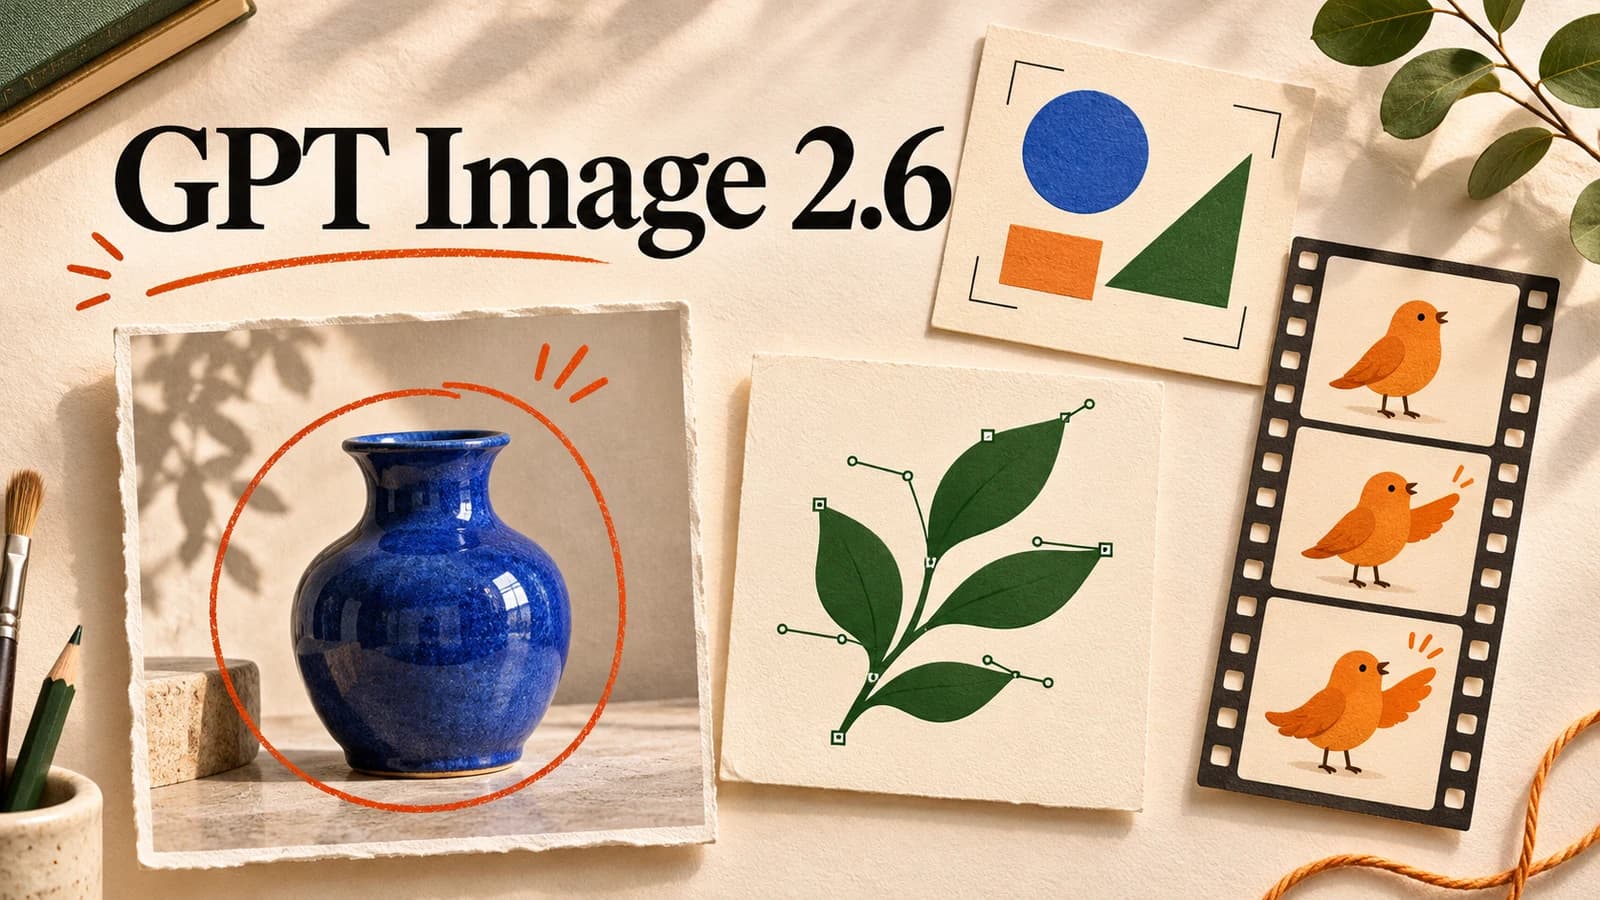
GPT Image 2.6 brings image creation closer to everyday design tasks. Its documented controls cover planning a detailed composition, pointing to an area you want edited, generating editable vector artwork, and creating a short animated GIF. These capabilities could help a small team move from a product-photo brief to campaign graphics, brand icons, and a welcoming mascot animation.
This guide covers the GPT Image 2.6 features documented by OpenAI as of November 5, 2026. The application scenarios and prompt examples are proposed workflows for creators to evaluate. Official image-generation guide
The cover is an original editorial concept created with built-in image generation. The prompt examples below are suggested briefs awaiting GPT Image 2.6 testing.
A quick guide to the documented features
| Creative task | Feature to explore | Important constraint |
|---|---|---|
| Arrange a detailed campaign composition | Planning complexity | Complexity and rendering quality are separate controls |
| Point out a specific area to change | Markup-guided editing | Prepare a transparent PNG aligned with the source image |
| Create scalable graphic artwork | SVG generation | Generation only, with one output per request |
| Develop a short motion concept | GIF generation | Frame count, timing, and pixel limits shape the result |
The update is worth exploring through three practical questions. How much planning does a brief need? How can a creator communicate a precise change? Which output format fits the finished asset?
Choosing Sunburst or Flare
OpenAI documents two model IDs, gpt-image-2.6-sunburst and gpt-image-2.6-flare. Sunburst is positioned for detailed visual work, compositions, and editing. Flare is positioned for fast, interactive iteration. Both support image generation and editing through the Image API.
A small ecommerce team could evaluate Sunburst for a carefully arranged product scene with several props and precise visual relationships. A designer exploring an onboarding character could evaluate Flare while adjusting expressions, poses, and visual direction through successive attempts. The choice depends on the task and the results your workflow produces.
Use those descriptions to choose a starting model, then compare results on your own brief. The controls covered here use the Image API, and integrations through other APIs need their own compatibility check. Sunburst documentation · Flare documentation
Planning complexity gives detailed briefs another control
The complexity setting accepts low, medium, or high, with high as the default for both models. It controls planning before rendering. The separate quality setting governs rendering quality.
This distinction matters when a brief contains relationships the image must communicate. Consider an event poster with a headline area, a clear focal object, and three supporting details. The planning question is whether the composition accommodates those requirements. The quality question concerns how the resulting image is rendered.
For an interior proposal, a detailed brief might need to coordinate a sofa, walkway, window lighting, and a presentation-friendly camera angle. That is another candidate for evaluating planning complexity. A focused request to explore a cushion color gives you a simpler brief to assess.
Higher complexity may increase latency and introduce unnecessary changes. Start with a precise request, then compare settings when the composition needs adjustment. OpenAI lists no separate complexity fee. Total request cost still depends on the work performed and billable usage.
A proposed prompt for a composition study follows. Select the model and API settings separately.
Prompt
Create a concept image for a small home-office proposal. Place a compact oak desk beside the window, keep a clear walking route from the door, and position a reading chair away from the desk. Use warm afternoon light and a calm neutral palette. Make the furniture relationships easy to understand in one wide view.
Keep the first approved composition as a reference for later decisions. Changing the brief and several settings together makes it harder to understand what improved the result. Official image-generation guide
Markup helps communicate where an edit belongs
Markup-guided editing lets you add visual instructions, such as circles or sketches, to help identify an area for modification. OpenAI lists markup support for compatible models in both the GPT Image 2.5 and 2.6 families.
For the /v1/images/edits endpoint, supply the original as the first image. Prepare an additional transparent PNG containing the markup. After accounting for orientation, its dimensions must match the original image. Describe the intended change in the text prompt as well.
For an ecommerce image, you might circle a bag panel and request a different product color. The markup communicates the target area, while the prompt defines the intended material and finish. Review the returned image against the actual product before using it in a listing.
For an interior proposal, sketch the outline of a rug and describe the desired size, pattern, and relationship to the seating. This can help communicate a spatial request that would otherwise need a long description.
Prompt
Use the markup circle to identify the fabric panel on the bag. Change that panel to deep forest green canvas with a matte finish. Preserve the existing stitching, handle shape, background, and lighting as closely as possible. Remove the instructional markup from the finished image.
Use markup on its own, with mask and prompt_rewriter omitted from that request. Inspect nearby edges, shadows, text, and product details after each edit to catch unintended changes. Official image-generation guide
SVG output creates static vector assets
Setting output_format to svg on /v1/images/generations enables static vector output with editable paths, shapes, and colors. This mode supports n=1. The documented process first creates a reference image, then converts it into SVG, with quality controlling the reference image stage.
Two useful applications are a coordinated brand icon set and an editorial illustration that needs to scale across a newsletter, presentation, and web page. Simple silhouettes, clear spacing, and a limited palette give reviewers concrete criteria for judging whether the asset works at different sizes.
The documented SVG output excludes scripts, external resources, and embedded raster images. SVG export is generation-only, and the edit endpoint accepts raster image inputs. Inspect and refine the resulting paths, shapes, and colors in your normal vector design tools.
For icons, check stroke consistency and legibility at the smallest intended size. For editorial artwork, check whether shapes remain easy to understand when the illustration is reduced. If the asset contains lettering, inspect the actual wording and appearance.
A generated SVG can provide a starting point for a design workflow. A final brand mark still needs review for distinctiveness, suitability, and technical cleanliness before adoption. Official image-generation guide
GIF output supports short animation concepts
The gif output format is available through /v1/images/generations. Existing-image edits use the edit endpoint's supported still-image formats. It supports frame_count from 2 to 64, with a default of 9 frames. frame_duration_ms accepts values from 20 to 2,000 milliseconds, rounded to 10-millisecond increments, with a default of 200 milliseconds.
At the defaults, nine frames at 200 milliseconds produce a 1.8-second animation sequence. Pixel-budget limits also constrain requests, so more frames may require a smaller image. Choose dimensions and timing around the intended placement.
An onboarding mascot could offer a small wave beside a welcome message. A sticker concept could show a parcel gently opening and returning to its starting pose. Both give a team a way to explore movement without developing a longer scene.
Prompt
Create a short looping animation of a friendly paper-plane mascot giving a small wave. Keep the camera fixed and the background plain. Use a clean, readable silhouette. Begin and end in matching resting poses so the transition between the final and first frames feels smooth.
Describe the desired loop in the prompt, then inspect the transition between the last and first frames. Frame timing controls the pace, while the generated poses determine how smoothly the loop closes. Check for a jump at the boundary and refine the brief if needed.
Before using the result in an interface, check playback, file weight, contrast, and how the animation fits the surrounding experience. For a product onboarding screen, keep the movement brief and visually quiet enough to sit comfortably beside the interface copy. Official image-generation guide
A practical workflow for a small creative team
- Define one deliverable. Specify its placement, audience, dimensions, essential content, and review criteria.
- Choose the model and output. Evaluate Sunburst or Flare for the task, then select a supported format and settings.
- Generate a focused first version. Keep the brief manageable enough to assess composition and accuracy.
- Refine with a clear change request. Use markup when spatial guidance helps, and compare the result with the source.
- Review the delivery asset. Inspect visual accuracy, SVG structure, or GIF playback in the tool or interface where it will be used.
Save the prompt, model ID, settings, and approved output together. That record makes subsequent revisions easier to evaluate. The Nanobana prompt library can help with ideas for structuring creative briefs, while each model's current documentation determines the supported controls.
Frequently asked questions
What are the main GPT Image 2.6 features covered here?
This guide covers planning complexity, markup-guided editing, static SVG generation, and short GIF generation. OpenAI documents Sunburst for detailed visual work and Flare for interactive iteration.
Can I edit an existing SVG directly with SVG output?
The documented SVG mode is available for generation with one output per request. Its workflow creates a reference image and converts that image into static SVG. Direct SVG editing is outside that documented mode.
Does markup protect every unmarked pixel?
Markup helps communicate the area and purpose of an edit. It does not guarantee pixel-level preservation, so compare the complete result with the source before approving it.
Where can I check the models available on Nanobana?
The generator's current model selector shows Nanobana's available options. For earlier model coverage, see the GPT Image 2 model page and our Nano Banana 2.1 comparison guide.
For a small creative team, a useful first experiment is one tightly scoped asset. Try a marked product-color revision, a simple SVG icon, or a short mascot wave. Record the brief and settings, then judge the result where the asset will actually appear.
Create the next frame
Put the ideas into practice with Nanobana.
Start with one clear creative decision, generate a draft, and refine the result in the same workspace.
Create with Nanobana